The Technical Requirements for Processing Machine Parts
time2021/10/22

- The accuracy of the operation in the machining of machine parts will affect the final accuracy of the product, and we must strictly follow its processing requirements. This article will specifically introduce the technical requirements of machine parts processing.

After the design of machine parts is completed, a series of processing must be carried out to ensure the machining accuracy of the parts. Then in the specific processing process, we must strictly follow the following technical requirements to process the machine parts.
Surface treatment of parts
1. There should be no scratches, abrasions, and other defects that damage the surface of the parts on the processing surface of the parts.
2. The surface of the processed thread is not allowed to have defects such as black skin, bumps, random buckles, and burrs. Before painting the surface of all steel parts that need to be painted, rust, oxide scale, grease, dust, soil, salt, and dirt must be removed.
3. Before removing rust, use organic solvents, lye, emulsifier, steam, etc. to remove grease and dirt on the surface of steel parts.
4. The time interval between the surface to be coated by shot blasting or manual derusting and the primer coating should not be more than 6h.
5. The surfaces of the riveting parts in contact with each other must be painted with anti-rust paint with a thickness of 30-40μm before connecting. The lap edges should be sealed with paint, putty, or adhesive. The primer damaged by processing or welding must be repainted.
Heat treatment of parts
1. After quenching and tempering, HRC50~55.
2. Medium carbon steel: 45 or 40Cr parts are subjected to high-frequency quenching, tempered at 350~370℃, HRC40~45.
3. The carburizing depth is 0.3mm.
4. Carry out high-temperature aging treatment.
Technical requirements after finishing
1. The finished parts should not be placed directly on the ground when placed, and necessary support and protection measures should be taken.
2. The machined surface is not allowed to have defects such as rust, bumps, and scratches that affect performance, life, or appearance.
3. The surface processed by rolling shall not peel off after rolling.
4. There should be no oxide scale on the surface of the parts after heat treatment in the final process. Finished mating surfaces and tooth surfaces should not be annealed.
Sealing of parts
1. All seals must be soaked in oil before assembling.
2. Strictly check and remove the sharp corners, burrs, and foreign objects left during the processing of the parts before assembly. Ensure that the seal is not scratched when it is installed.
3. After bonding, remove the excess adhesive flowing out.
Gear technical requirements
1. After the gear is assembled, the contact spots and backlash of the tooth surface should meet the requirements of GB10095 and GB11365.
2. The reference end face of the gear (worm gear) and the shaft shoulder (or the end face of the positioning sleeve) should fit together and cannot be checked with a 0.05mm feeler gauge. And should ensure the verticality requirements of the reference end face of the gear and the axis.
3. The joint surface of the gearbox and the cover should be in good contact.
Bearing technical requirements
1. Assembling rolling bearings is allowed to use oil heating for hot charging, and the temperature of the oil should not exceed 100°C.
2. The semi-circular holes of the bearing outer ring and the open bearing seat and bearing cover are not allowed to jam.
3. The outer ring of the bearing should be in good contact with the semicircular hole of the open bearing seat and the bearing cover. When checking with coloring, it should be symmetrical with the bearing seat at 120° to the centerline, and with the bearing cover within the range of 90° symmetrical to the centerline. Even contact. When checking with a feeler gauge within the above range, the 0.03mm feeler gauge shall not be inserted into 1/3 of the outer ring width.
4. After assembly, the outer ring of the bearing should contact the end face of the bearing cap of the positioning end evenly.
5. After the rolling bearing is installed, it should be flexibly and smoothly rotated by hand.
6. The joint surfaces of the upper and lower bearing bushes should be closely attached and cannot be checked with a 0.05mm feeler gauge.
7. When fixing the bearing bush with locating pins, drill the reaming and distributing pins while ensuring that the opening and closing faces and end bread of the bushing surface and the end face of the relevant bearing hole are flush with each other. Do not loosen the pin after driving in.
8. The bearing body of the spherical bearing and the bearing seat should be in uniform contact, and the contact should not be less than 70% when inspected by the coloring method.
9. The alloy bearing lining is not allowed to be used when the surface is yellow, and the nucleation is not allowed within the specified contact angle, and the nucleation area outside the contact angle shall not be greater than 10% of the total area of the non-contact area.
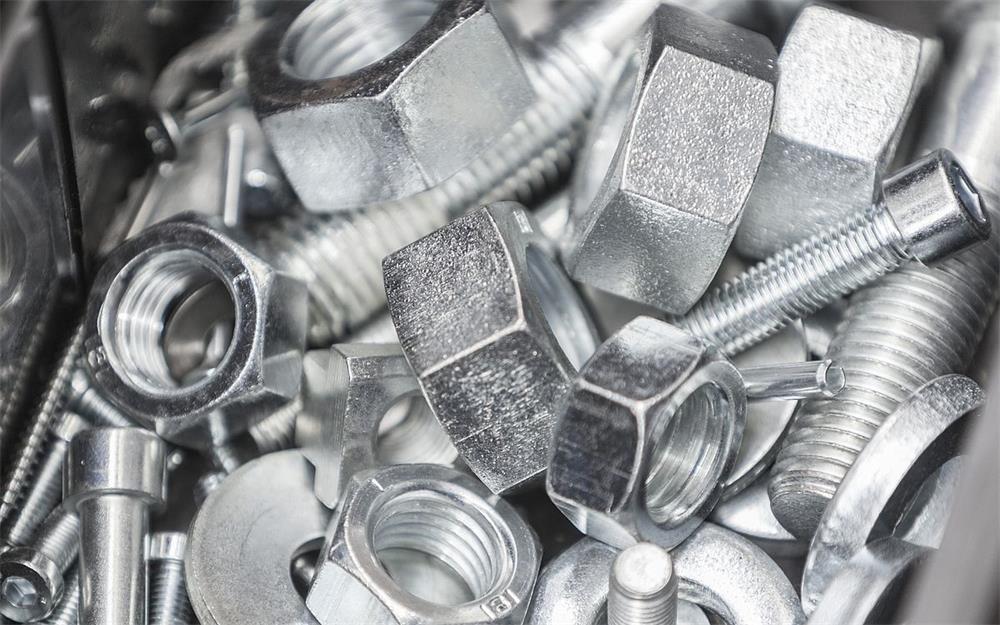
Technical requirements for screws, bolts, and nuts
1. When tightening screws, bolts, and nuts, it is strictly forbidden to strike or use inappropriate screwdrivers and wrenches. The screw grooves, nuts, and screws, and bolt heads shall not be damaged after tightening.
2. The fasteners with the specified tightening torque must be tightened with a torque wrench.
3. When the same part is fastened with multiple screws (bolts), each screw (bolt) needs to be tightened crosswise, symmetrically, gradually, and evenly.
4. The flat key and the two sides of the keyway on the shaft should be in uniform contact, and there should be no gap between the mating surfaces.
Technical requirements of repair welding
1. Defects must be completely removed before repair welding, and the groove surface should be repaired smoothly and without sharp corners.
2. According to the defects of the steel castings, the defects in the repair welding area can be removed by shoveling, grinding, carbon arc gouging, gas cutting, or mechanical processing.
3. Dirt such as sticky sand, oil, water, rust, etc. within 20mm around the repair welding area and the groove must be thoroughly cleaned up.
4. During the whole repair welding process, the temperature of the preheating zone of the steel castings shall not be lower than 350°C.
5. When conditions permit, weld as much as possible in a horizontal position.
6. When repairing welding, the welding rod should not make an excessive lateral swing.
7. When surfacing welding on the surface of steel castings, the overlap between the weld beads shall not be less than 1/3 of the weld bead width.
Technical requirements for castings
1. The casting tolerance zone is symmetrical to the basic size configuration of the roughcasting.
2. No cold partition, cracks, shrinkage holes, penetrating defects, and serious incomplete defects (such as under-casting, mechanical damage, etc.) are allowed on the surface of the casting.
3. The castings should be cleaned up without burrs and flashes. The pouring risers on the non-processing indications should be cleaned and flush with the surface of the castings.
4. The casting characters and marks on the non-machined surface of the casting should be clear and identifiable, and the position and font should meet the requirements of the drawing.
5. The roughness of the non-machined surface of the casting, sand casting R, is not more than 50μm.
6. Castings should be clear of pouring risers, spurs, etc. The remaining amount of the pouring riser on the non-processed surface should be leveled and polished to meet the surface quality requirements.
7. The molding sand, core sand, and core bone on the casting should be cleaned.
8. The casting has inclined parts, and the dimensional tolerance zone should be arranged symmetrically along the inclined plane.
9. The molding sand, core sand, core bone, fleshy, sticky sand, etc. on the castings should be smoothed and cleaned up.
10. The right or wrong type, casting deviation of the boss, etc. should be corrected to achieve a smooth transition and ensure the appearance quality.
11. The wrinkles on the non-processed surface of the casting should have a depth less than 2mm and a spacing greater than 100mm.
12. The non-machined surface of the machine product castings needs to be shot-peened or roller-treated to meet the requirements of the cleanliness Sa2 1/2 level.
13. Castings must be treated with water toughness.
14. The surface of the casting should be smooth, and the gate, burr, sticky sand, etc. should be removed.
15. Castings are not allowed to have casting defects such as cold partitions, cracks, holes, etc. that are detrimental to use.
Technical requirements for forgings
1. The nozzles and risers of each steel ingot should be removed enough to ensure that the forgings are free from shrinkage and serious deflection.
2. Forgings should be forged on a forging press with sufficient capacity to ensure that the forgings are fully forged.
3. Forgings are not allowed to have visible cracks, folds, and other appearance defects that affect use. Local defects can be removed, but the cleaning depth should not exceed 75% of the machining allowance. The defects on the non-machined surface of the forging should be cleaned and smoothly transitioned.
4. White spots, internal cracks, and residual shrinkage holes are not allowed in forgings.
Zhongken provides various types and specifications of machine parts, which can meet the specific needs of different applications and have a long service life. If you need this, you can directly search for related products on our website and contact us.
As a parts manufacturer, we are always committed to providing customers with quality products and services. We have specialized production equipment and have established a complete quality inspection system to strictly control the quality of our products. At the same time, our complete management team can provide thoughtful one-stop service and formulate effective solutions according to the diverse needs of customers. If you are interested in our machine parts, please contact us immediately!
